How It Works
- A test runs and a step fails (e.g., a button can’t be found)
- The CLI’s AI analyzes the current page state — what’s visible, what changed
- It attempts to recover: finding the element by alternative means, waiting for the right condition, or adapting to the new UI
- If recovery succeeds, the test continues and the step is marked as healed
- If recovery fails, the test is marked as failed and escalated to auto-healing
What Auto-Recovery Can Fix
What Auto-Recovery Can’t Fix (But Auto Healing can!)
Some issues require deeper analysis and code changes:- Major flow changes (steps added or removed)
- Completely redesigned pages
- Changed business logic
- New authentication requirements
Viewing Recovery Results
In your test run results, recovered tests show up in the healed count: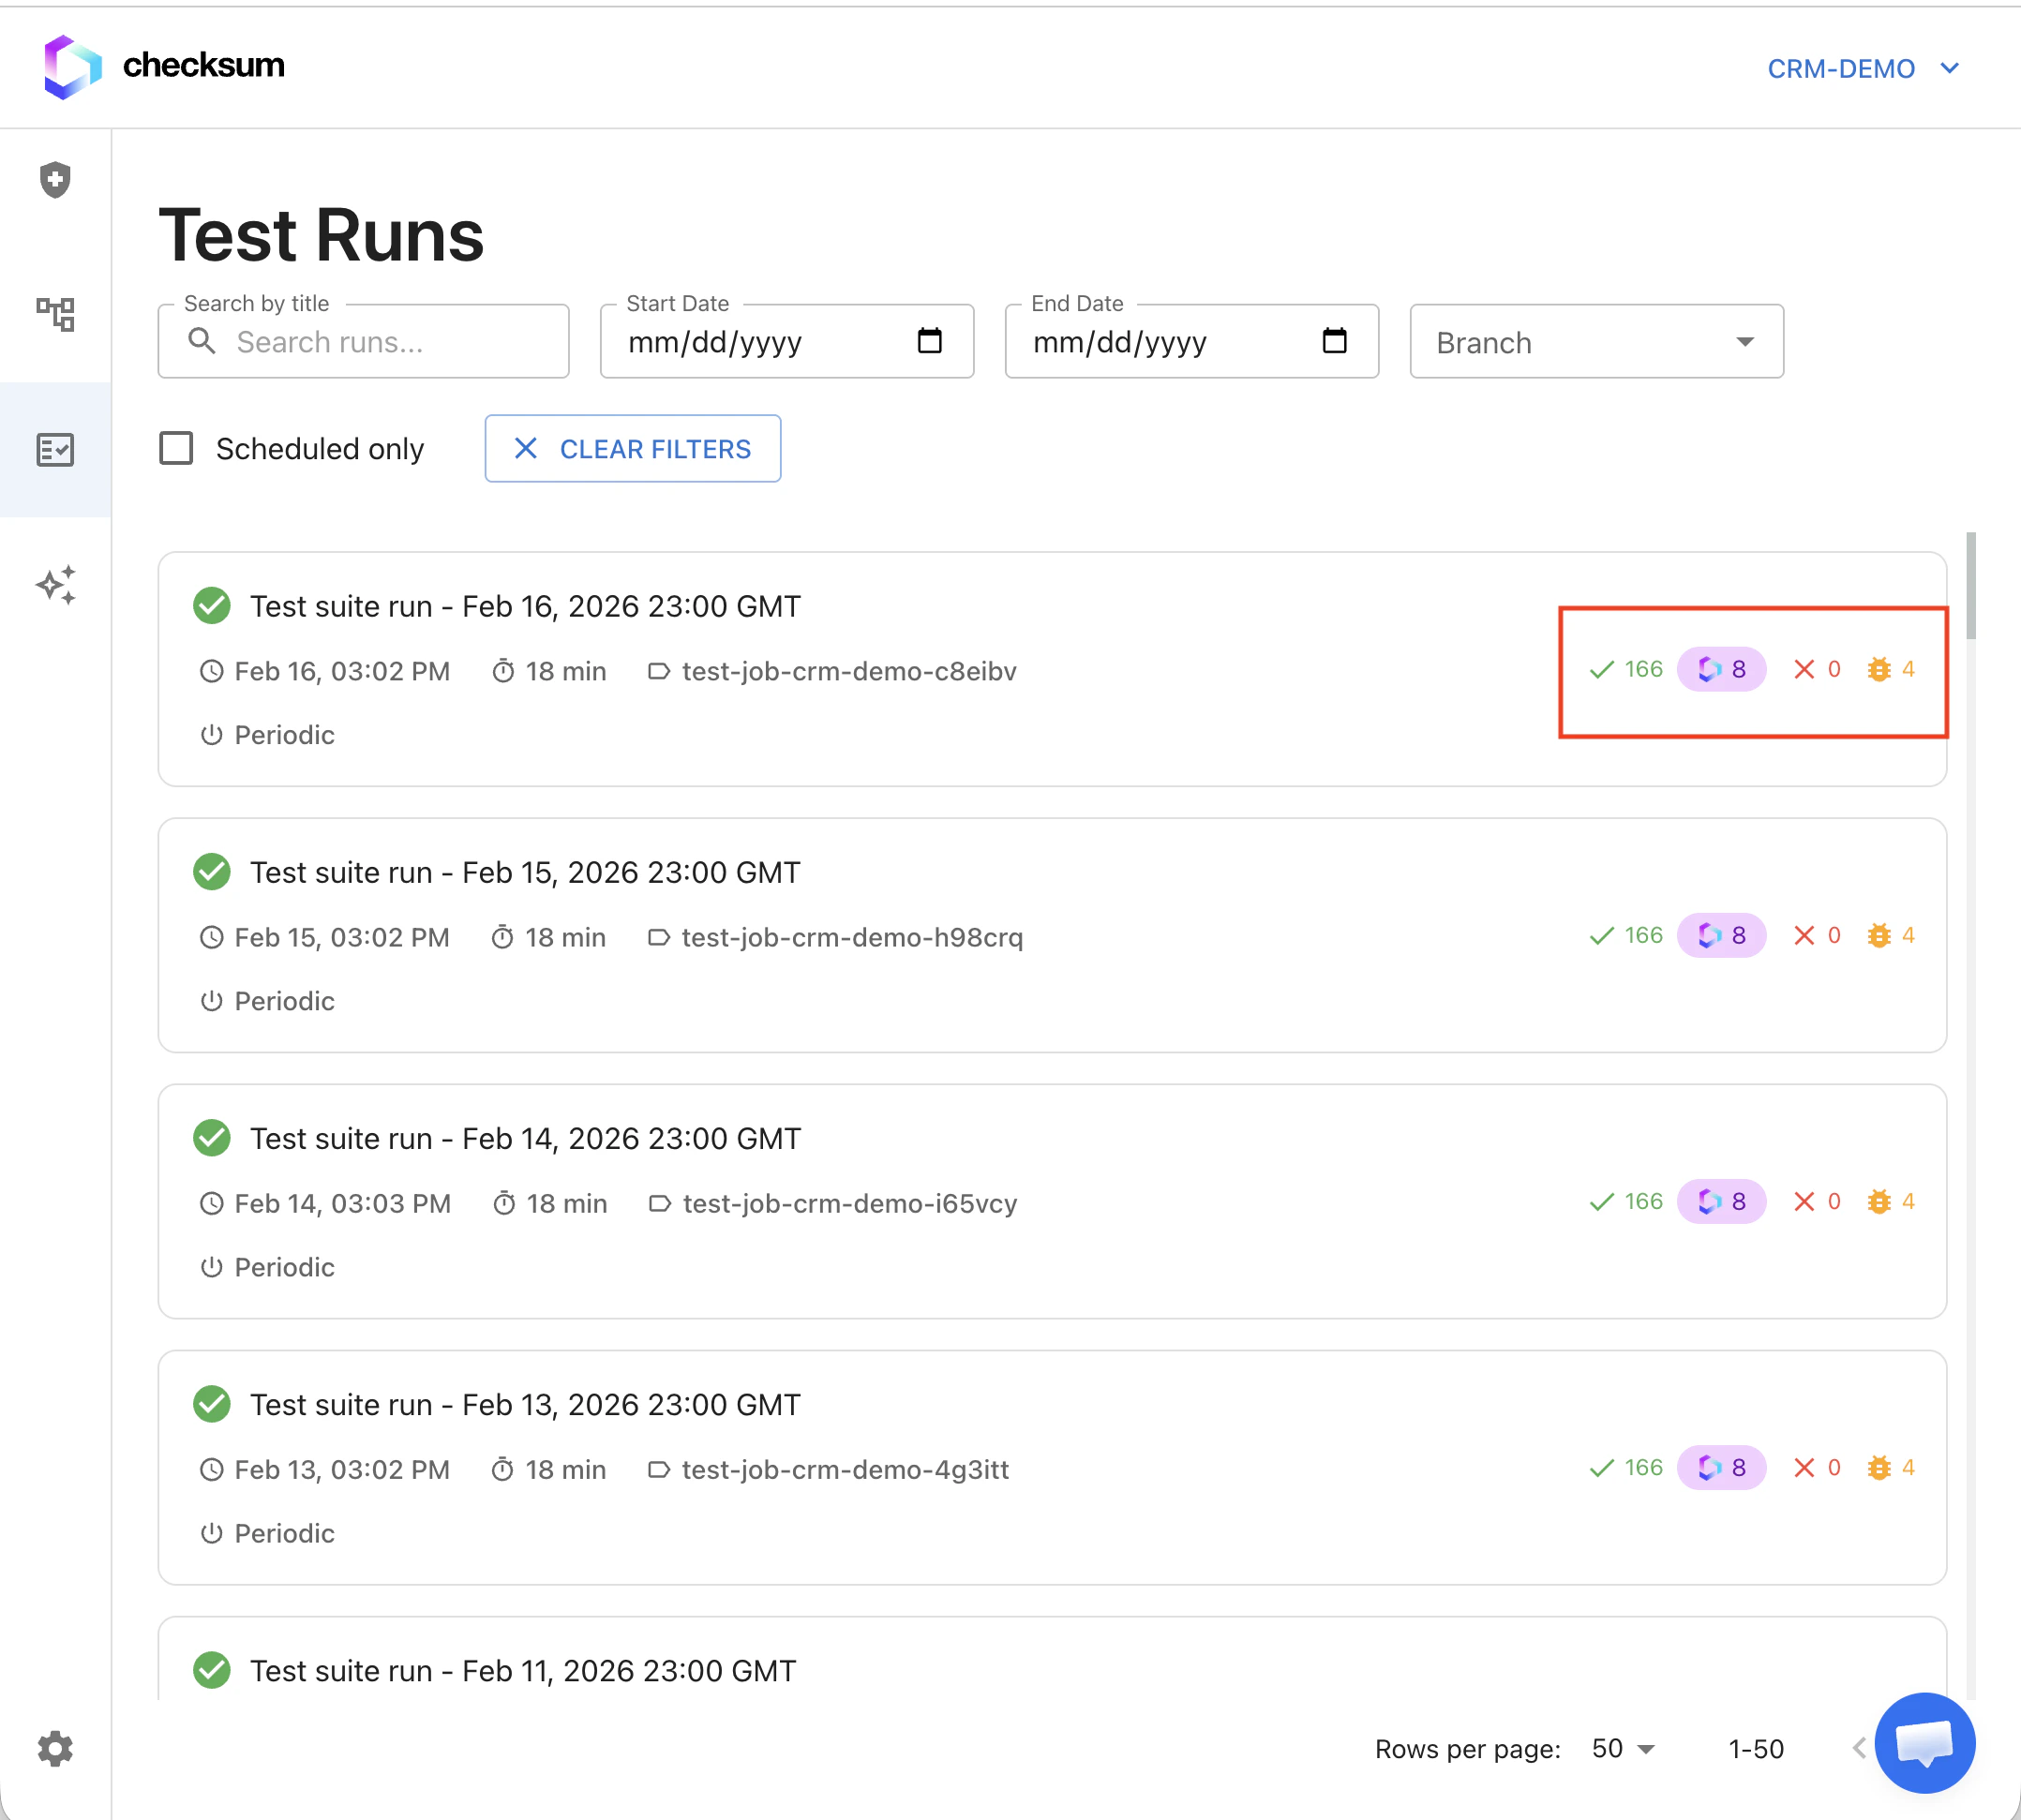
Enabling Auto-Recovery
Auto-recovery runs when your project’s run mode is set to Auto-Heal. This is controlled by therunMode option in checksum.config.ts:
Set
runMode: RunMode.Heal in checksum.config.ts to enable it. See the runMode reference for full details.