When at least one spec is uploaded, you can generate tests directly from the API Specs page. The agent works autonomously in the cloud. You trigger it, watch its session, and come back to a pull request ready for review.
API test generation pipeline: upload specs, choose mode, agent plans/implements/reviews/verifies, PR ready

Start a generation

  1. On the API Specs page, click Start Test Generation.
  2. Choose an agent variant, Standard or Deep (see below).
  3. Add a prompt describing what to focus on, then click Start.
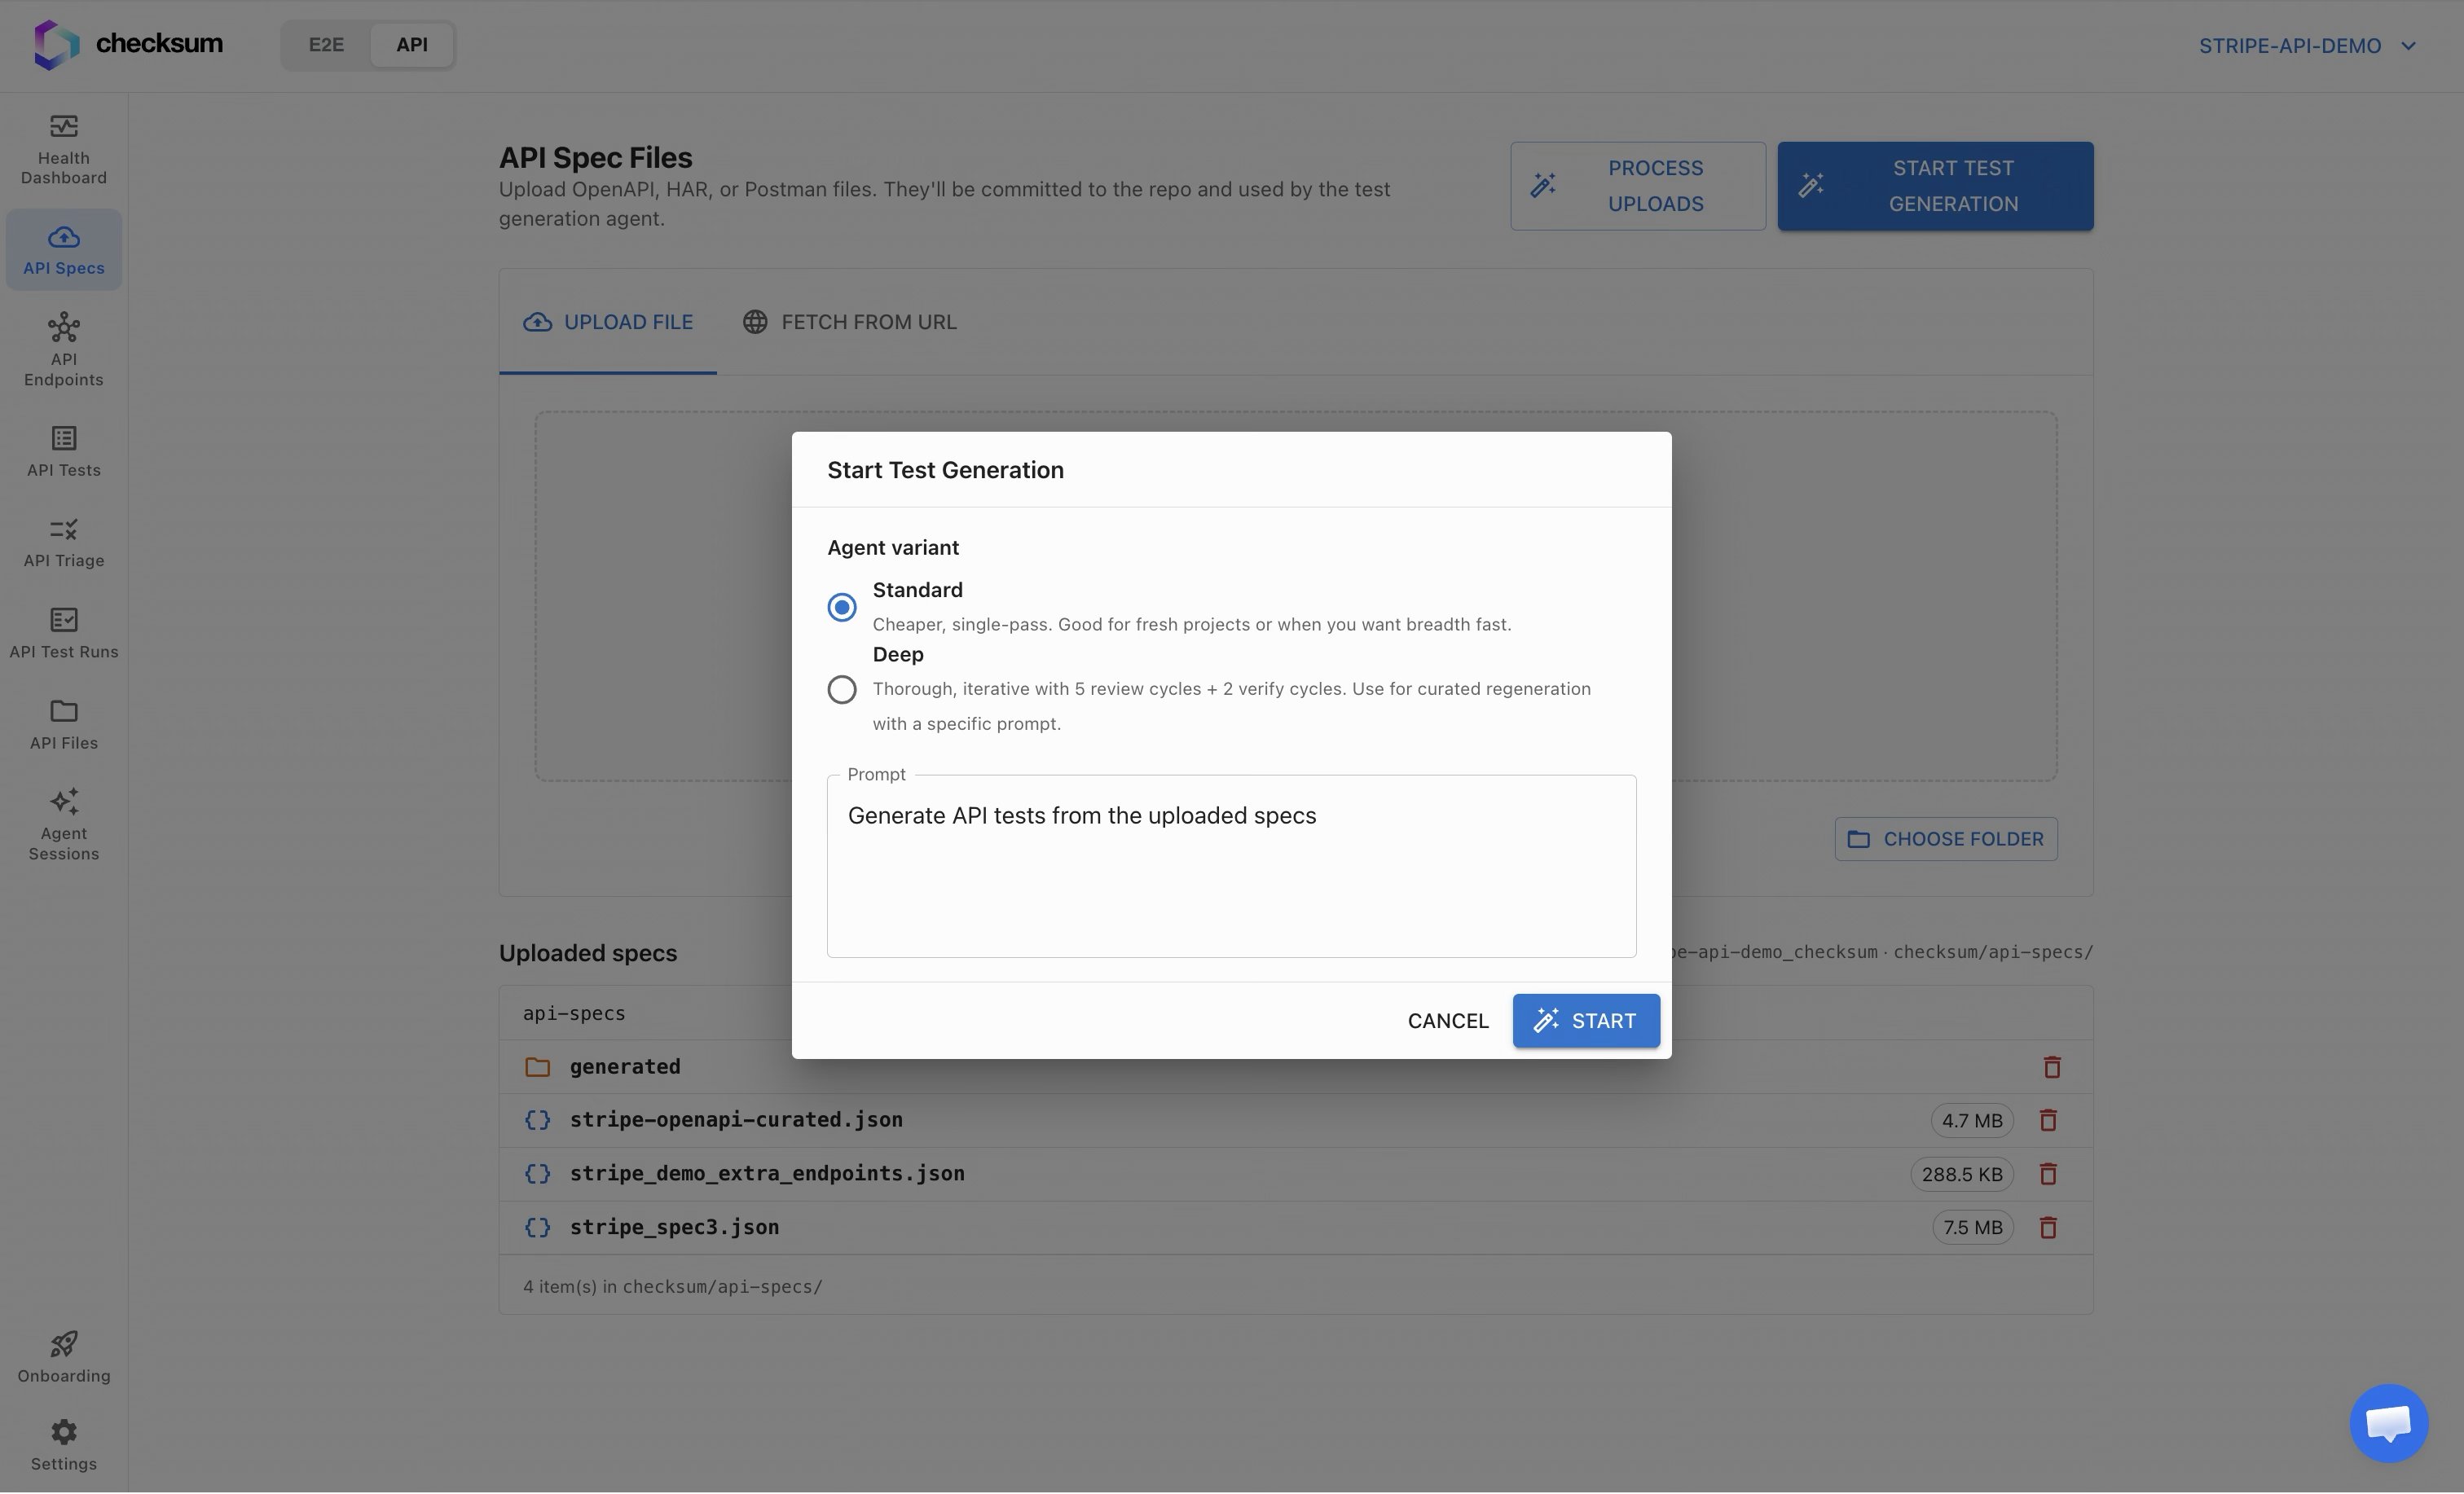
Start Test Generation dialog with Standard and Deep modes

Standard vs Deep

Start with Standard to get broad coverage across your endpoints, then use Deep with a focused prompt (e.g. “generate tests for the payments API”) to go deeper where it matters.

What generation can and can’t do


The agent session

Starting generation opens the agent session page, where you can follow each stage in real time:
  1. Cloning: the agent clones your repository.
  2. Planning: it plans the test cases to build.
  3. Implementation, review, and verification: it writes the tests, reviews its own work, and verifies they actually run.
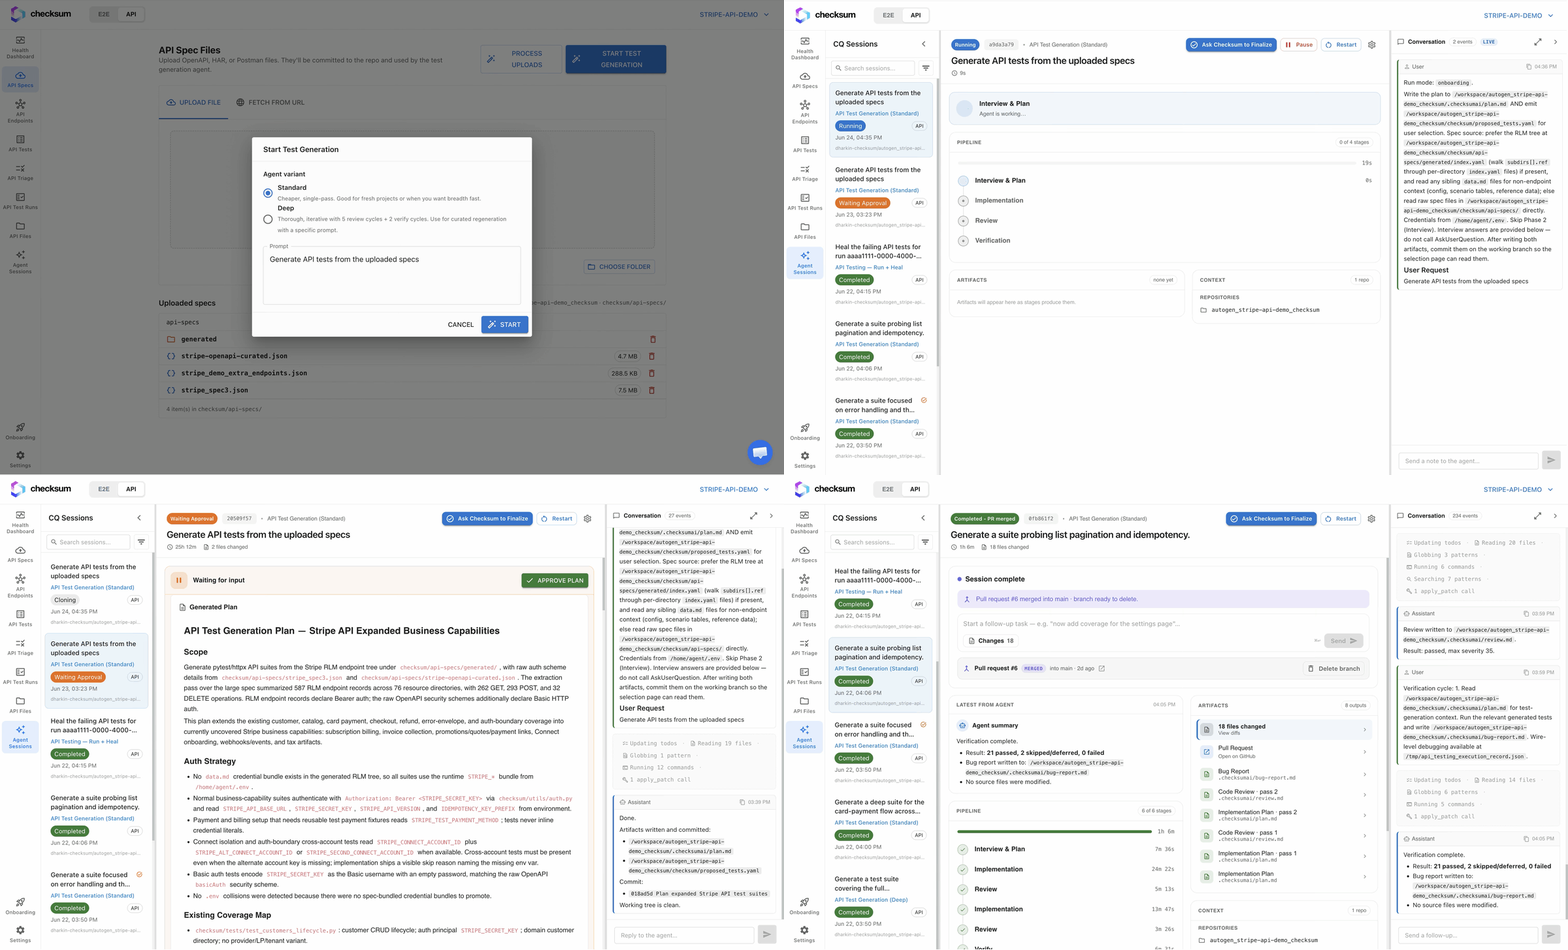
The API test generation lifecycle, from choosing a mode to a finished session

Finalize and merge

When the session finishes, it pauses for your approval and shows a summary of the run: how many tests were generated and how many were skipped.
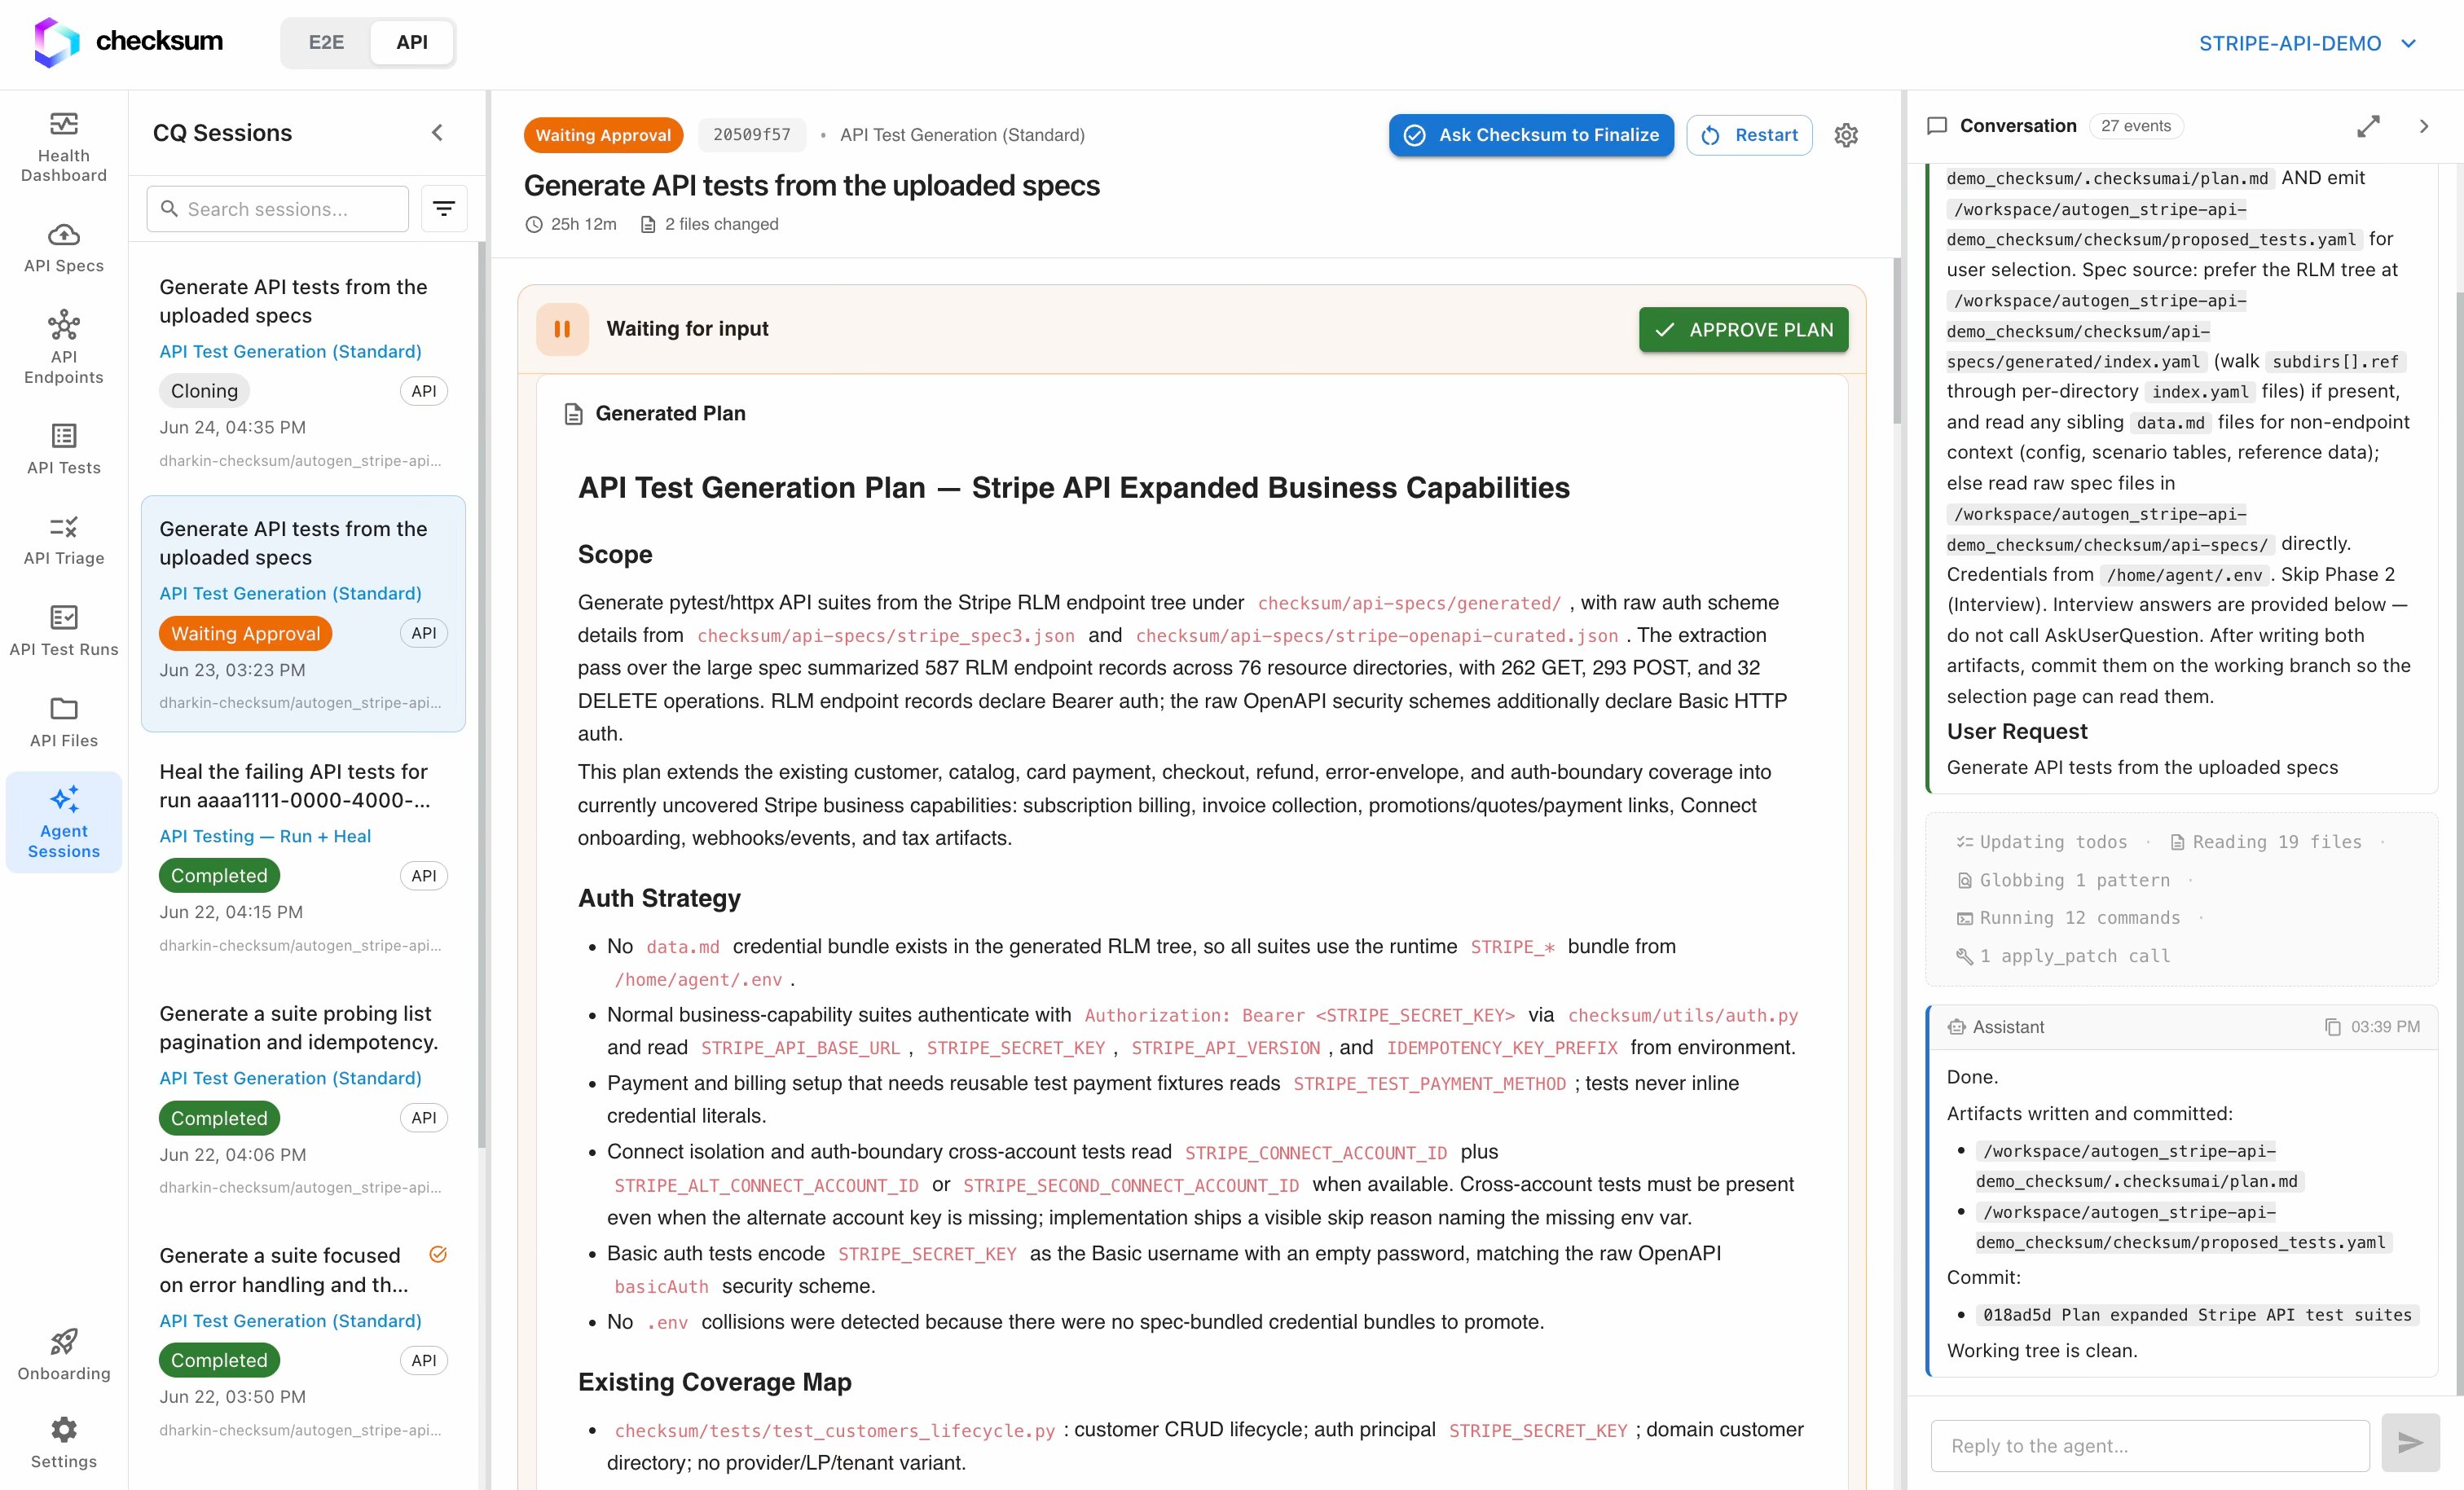
Agent session waiting for approval to finalize
Ask Checksum to finalize, and it opens a pull request with the generated tests.
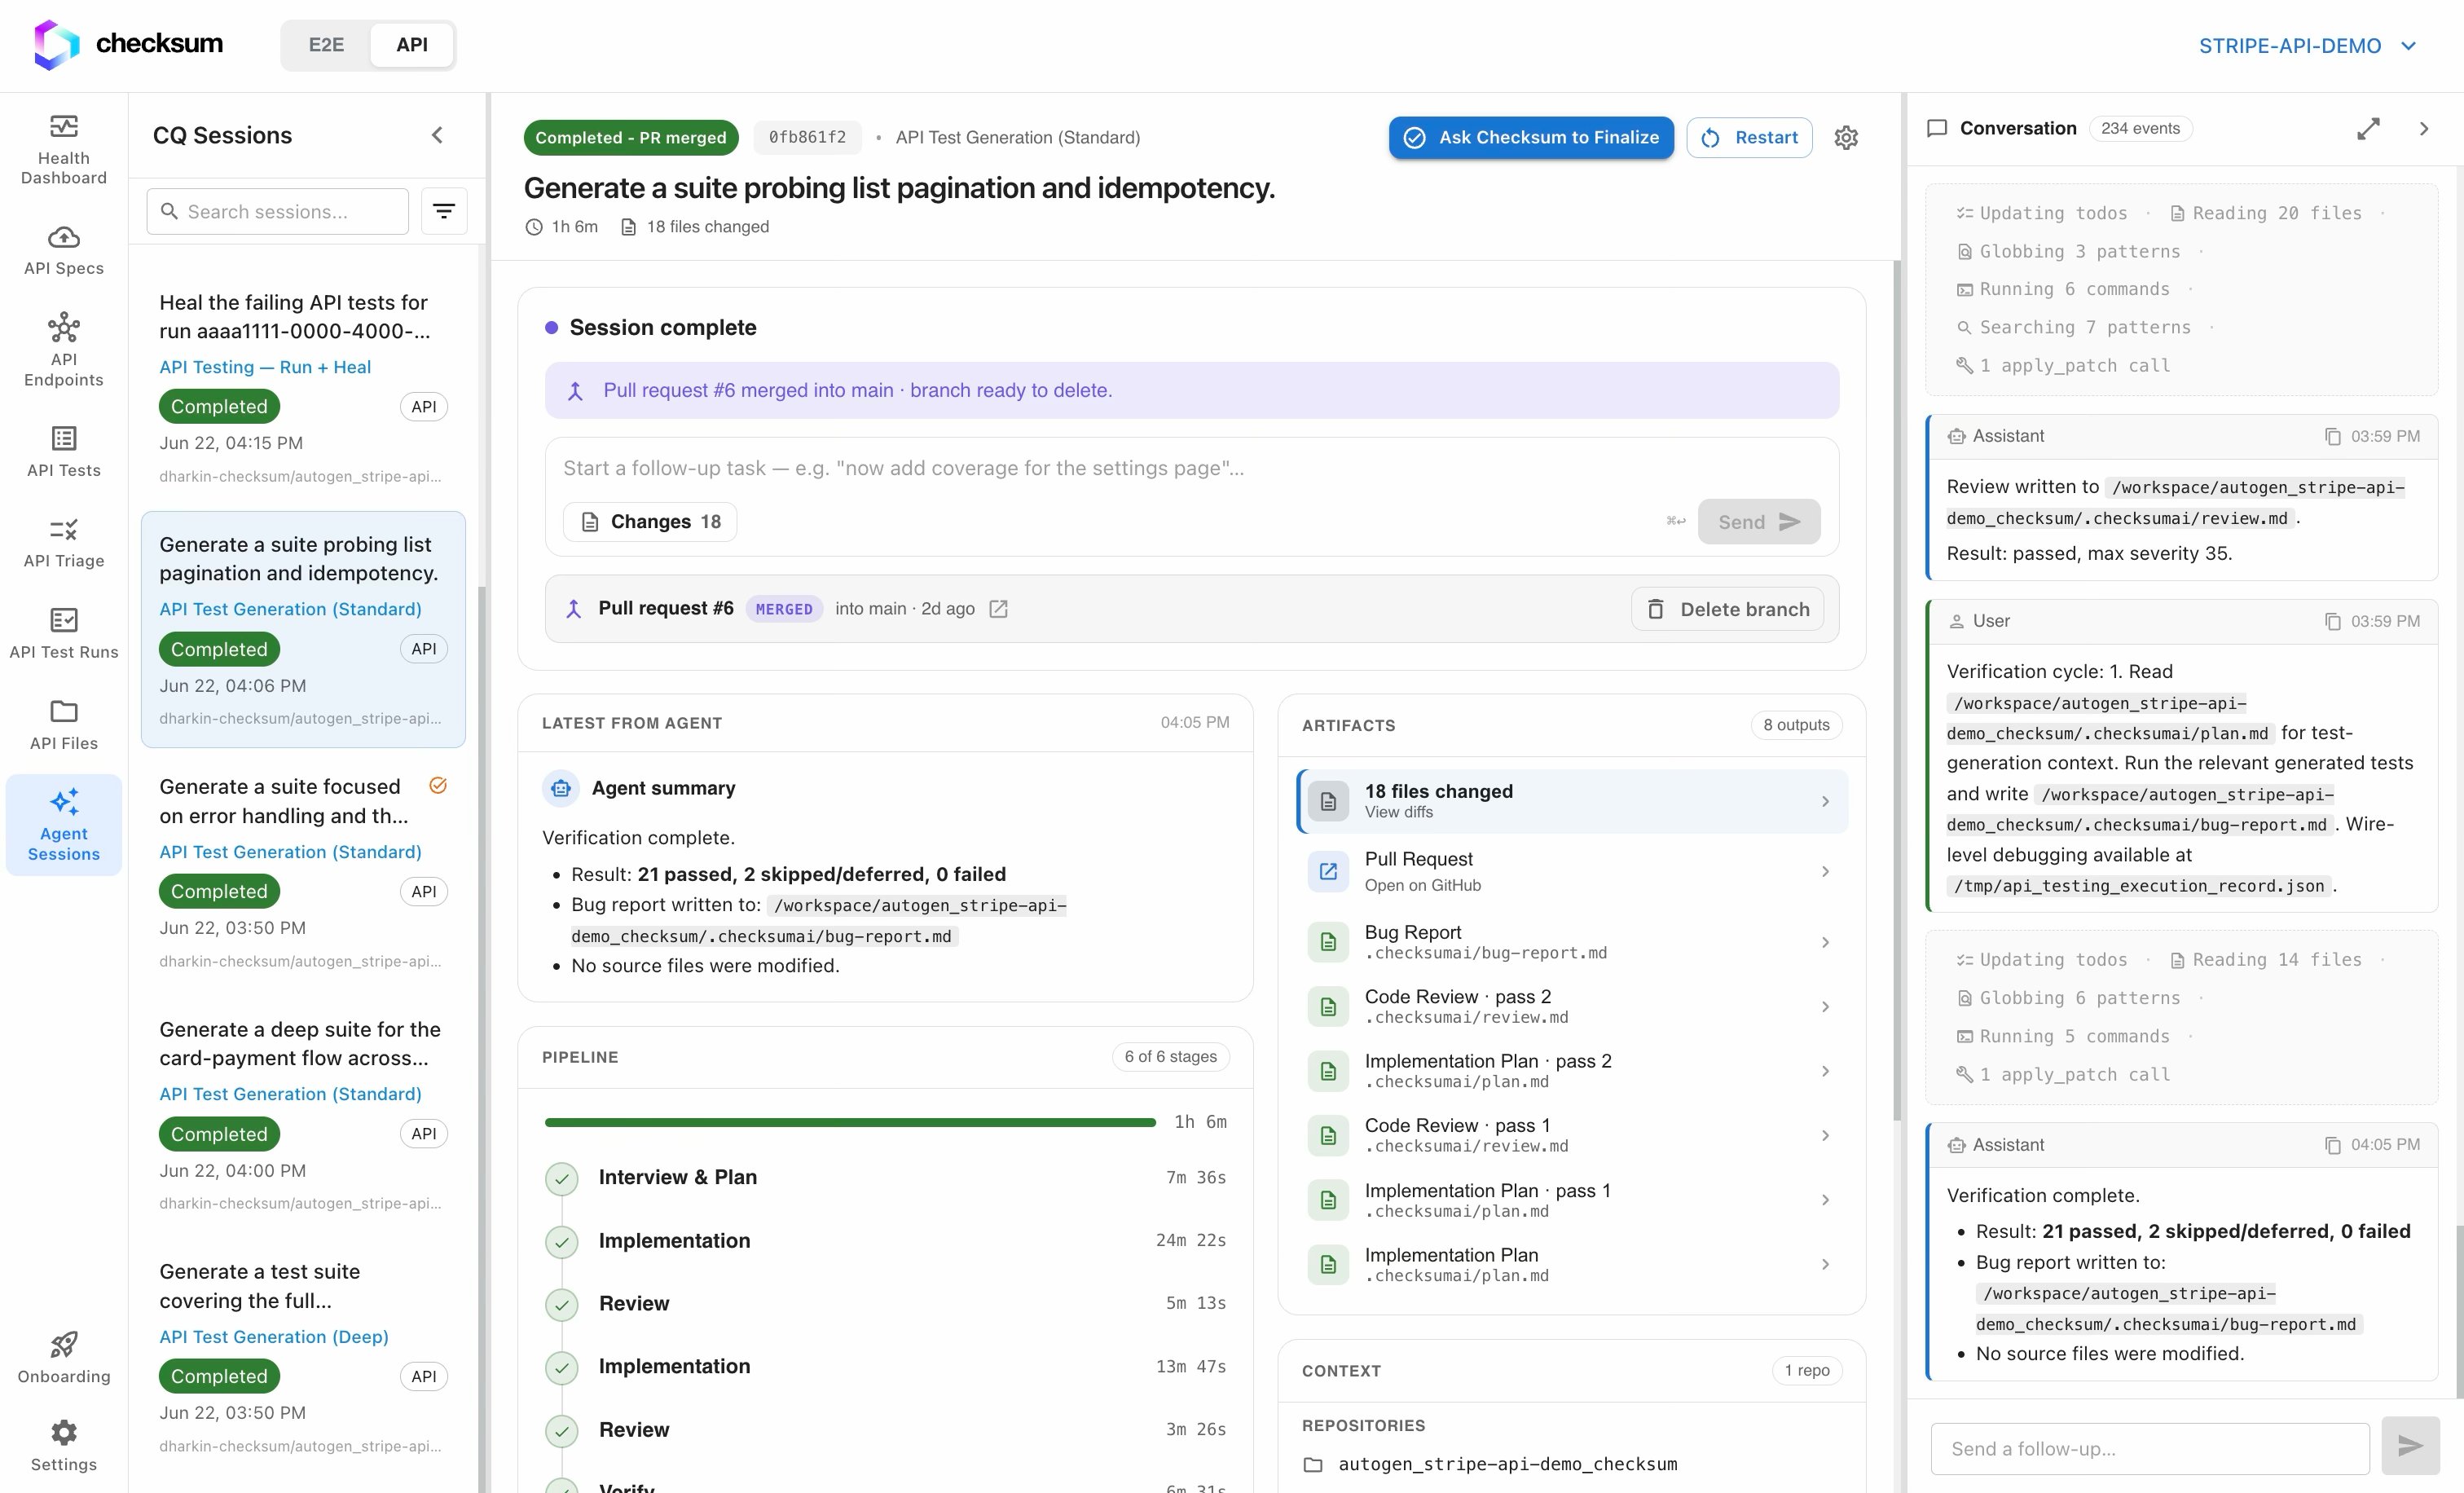
Completed agent session with finalize and PR
Review the PR like any other:
  1. Read the generated tests on GitHub/GitLab.
  2. Merge the PR into your tests repo when you’re satisfied.
Once merged, the tests appear on the API Tests page, ready to run.
Skipped tests aren’t lost. They surface on the API Triage board so you can review why the agent skipped them.

Next Steps